Private IP Subnets

link: http://networking.ringofsaturn.com/IP/subnets.php

Private IP Addresses
RFC 1918 requests that organizations make use of the private Internet address space for hosts that require IP connectivity within their enterprise network, but do not require external connections to the global Internet. For this purpose, the IANA has reserved the following three address blocks for private internets:
10.0.0.0/8
127.0.0.0/8
172.16.0.0/12
192.168.0.0/16
IP's above 224.0.0.0 are used for both multicast and experimental purposes.
 

debuntu ?


WebDAV Configuration With Apache2 On Debian Etch


Microsoft XPS on Ubuntu with mono

Como visualizar arquivos xps no ubuntu?

Para visualizar no ubuntu hardy, pode-se instalar o pacote OKULAR com o comando:
sudo apt-get install okular-kde4

PS: o Okular não permitiu a impressão do arquivo de teste.

Para converter para PDF utilize o Xps da Ndesk em Mono:
Link: http://www.ndesk.org/Xps

Download

The renderer uses the NDesk Cairo library, an updated version of Mono.Cairo:
git-clone git://git.ndesk.org/pub/scm/cairo-sharp
To get the (experimental) Xps sources:
git-clone git://git.ndesk.org/pub/scm/ndesk-xps

Usage

sudo apt-get install mono-1.0-devel mono-2.0-devel mono-mcs mono-gmcs
sudo apt-get install mono-gac mono-utils monodevelop monodoc-browser monodevelop-nunit monodevelop-versioncontrol
sudo apt-get install mono-xsp2 mono-xsp2-base asp.net2-examples
sudo apt-get install mono-xsp mono-xsp-base asp.net-examples
sudo cp /usr/share/asp.net2-demos/index.aspx /usr/share/asp.net2-demos/index2.aspx

cd ~/
svn co svn://anonsvn.mono-project.com/source/trunk/mono-addins mono-addins
cd mono-addins
./autogen.sh --prefix=/usr/
make
sudo make install
cd ~/

git-clone git://git.ndesk.org/pub/scm/cairo-sharp
git-clone git://git.ndesk.org/pub/scm/ndesk-xps
cd ~/cairo-sharp
make all
cp ~/cairo-sharp/src/NDesk.Cairo.dll ~/ndesk-xps/src
cd ~/ndesk-xps
make all
cd ~/ndesk-xps/src
mono loader.exe Document.xps
This produces Document.pdf.
PS: Não consegui fazer funcionar para o meu arquivo de teste até agora.
Erro abaixo se alguém puder ajudar:

Unhandled Exception: System.NullReferenceException: Object reference not set to an instance of an object at ICSharpCode.SharpZipLib.Zip.ZipFile.GetInputStream ICSharpCode.SharpZipLib.Zip.ZipEntry entry) [0x00000]
at NDesk.IO.Packaging.ZipPackagePart.GetStreamCore (FileMode mode, FileAccess access) [0x00000]
at NDesk.IO.Packaging.PackagePart.GetStream (FileMode mode) [0x00000]
at NDesk.IO.Packaging.PackagePart.GetStream () [0x00000]
at NDesk.Xps.Loader.Convert (NDesk.IO.Packaging.Package pkg, Int32 docnum, System.String outfname) [0x00000]
at NDesk.Xps.Loader.Main (System.String[] args) [0x00000]


Links para mono: http://www.debianadmin.com/running-aspnet-applications-in-debian-and-ubuntu-using-xsp-and-mono.html


Não deixe de conferir nosso novo blog sobre Linux em : Ubuntu "4us"
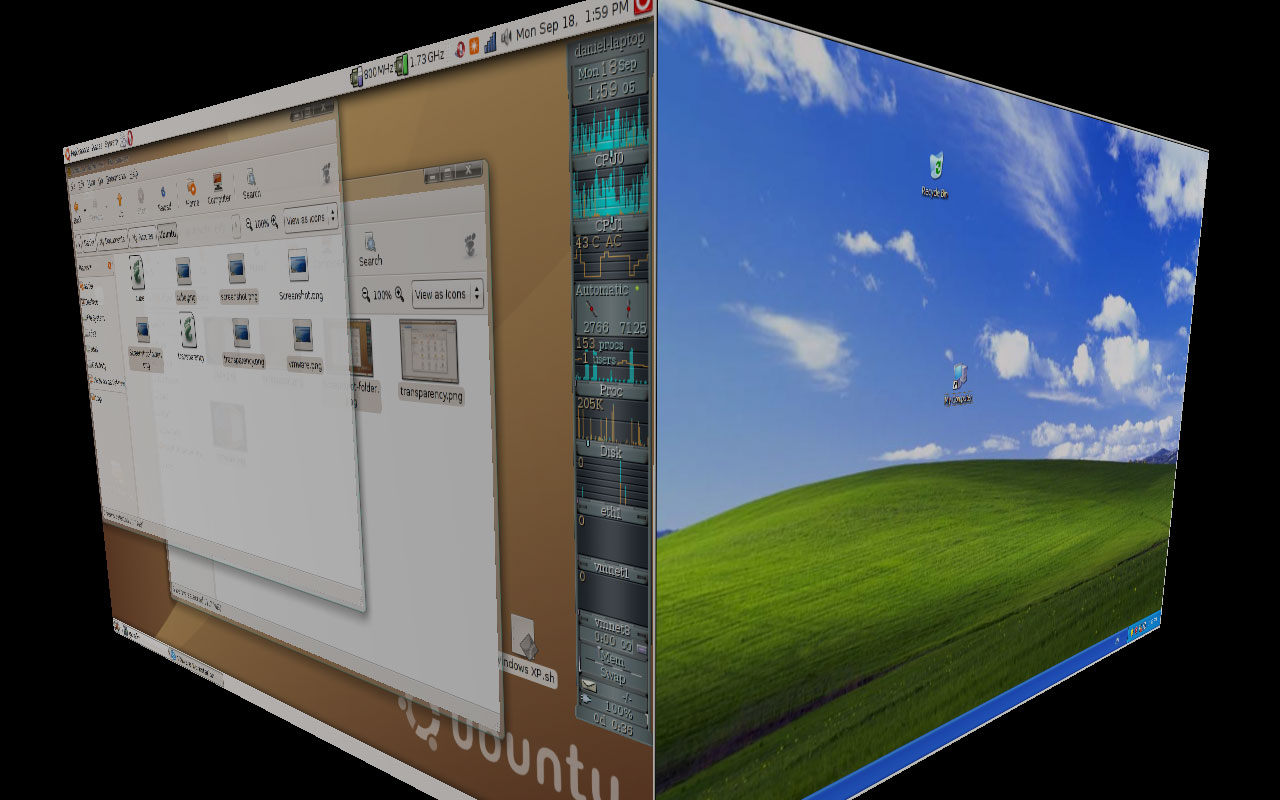
 

Instalação VMWARE Server 2 no UBUNTU 8.04


Instale alguns pré-requisitos:
sudo apt-get install build-essential

Crie um diretório para salvar os arquivos de download do site da VMWare.
sudo mkdir -p /usr/src/VMWare

Faça o download dos arquivos navegando pelo site: http://www.vmware.com/download/server
Assim você terá o free serial numbers fornecidos durante o processo de download oficial.

Execute os comandos de instalação:
sudo bash
cd /usr/src/VMWare
tar xzf VMware-server-2.0.0-122956.i386.tar.gz

cd /usr/src/VMWare/vmware-server-distrib
sudo ./vmware-install.pl

Select defaults.
Enter your serial # during the installation.

Start vmware (as a user, not root)

Entre com o comando abaixo para iniciar o vmware
vmware

Depois pelo Firefox:
https://localhost/ui

Siga estas instruções:
The first time you load the page, firefox will give you a warning. Go ahead and add an exception.
You will get a log in screen, log in as root.
Go to the "Permissions tab" -> click "New Permission"
From the pull down menus, add your user as an "Administrator"
Log out and back in as your user (rather then root).
To get the web interface working (console tab), first create a Virtual machine. Once you start your first VM you need to allow firefox to install an addon. To do this, start your new VM, then click on the "Console" tab. You will see a black window with a text message "The VMWare Remote Console Plug-in is not installed ..."
Click on the yellow "Install plugin". You will get a "warning" from firefox "Firefox prevented this site (127.0.0.1) from asking you to install software on your computer". Click the "Allow" button on the upper Left and install the plugin.
You will the need to re-start firefox, again log in and start your virtual machine. This time you will get notice that the VMWare Remote Console Plug-in has been installed. Again click the Console tab. You will now see a black screen with the VMWare logo. Click anywhere in this screen to start the VMWare graphical screen (in a separate window).
From the VMWare console you have some limited options for admin of the VM (stop / reboot and access to removable devices).
You can close Firefox and your Virtual Machine will continue to run. You can close the VMWare window or even log off and the virtual machine will continue to run

Unfortunately, there is not a menu option to re-start the console, you have to re-start firefox, log in, and again start the console.


Link: http://ubuntuforums.org/showthread.php?t=779934
Pode ser que ajude este fórum: http://communities.vmware.com/thread/113938;jsessionid=1C347A7C106C98E0DC16B7F230647313?tstart=15&start=15


Não deixe de conferir nosso novo blog sobre Linux em : Ubuntu "4us"
 

Troca de acesso da pasta

Um comando que sempre preciso lembrar como é: alterar o proprietário e o acesso de pastas recursivamente.

Para alterar o proprietário e grupo de uma pasta recursivamente:
sudo bash
chown -vhR root:users /home/Data
chown -vhR root:users /home/Lixeira
chown -vhR root:users /home/Public

Um conteúdo adulto pode ser restrito para um usuário apenas, por exemplo:
sudo bash
chown -vhR root:aarvati /home/Data/Pictures/Sexo
chown -vhR root:aarvati /home/Data/Video/Sexo

Alterar a permissão de acesso de uma pasta recursivamente, por exemplo a estrutura de pastas abaixo terá suas configurações alteradas:
sudo bash
chmod -cR 770 /home/Data/Backup
chmod -cR 770 /home/Data/Example
chmod -cR 770 /home/Data/Fax
chmod -cR 770 /home/Data/Machines
chmod -cR 770 /home/Data/Music
chmod -cR 770 /home/Data/Pictures
chmod -cR 770 /home/Data/Softs
chmod -cR 770 /home/Data/Video
chmod -cR 770 /home/Data/WebSites
chmod -cR 777 /home/Public
chmod -cR 770 /home/Lixeira

Os números representam a permissão do proprietério, do grupo e de outros respectivamente.
A permissão de acesso é feita somando-se os números 4 para leitura, 2 para escrita e 1 para execução. Assim o número 7 = (4+2+1), significa acesso total de leitura, gravação e execução.
 

Como fazer backup do Evolution

LINK: http://www.avila.eti.br/2007/06/21/1182453660000.html


Saiba quais as pastas e arquivos necessários para o backup.

Se você, assim como eu, utiliza o Evolution no Ubuntu como cliente de e-mail, já precisou fazer backup de suas mensagens para passar para outro computador. Sinceramente, achei este esquema mais fácil do que os backups do Thunderbird.

Siga os seguintes passos para criar um backup dos e-mails/configurações do Evolution:

Passo 1: Encerre os serviços evolution e gconftool-2:

gconftool-2 --shutdown
evolution --force-shutdown


Passo 2: Crie um arquivo com os dados e os arquivos de configuração.

Nota: para salvar os dados e configurações completas do Evolution, você precisa salvar os seguintes arquivos/diretórios:
1. ~/.evolution/
2. ~/.gconf/apps/evolution/
3. ~/.gnome2_private/Evolution


O seguinte comando pode cuidar de fazer isto:
cd
tar -cvzf evolution-backup.tar.gz .evolution .gconf/apps/evolution .gnome2_private/Evolution


Passo 3: restaurar o backup

Agora o arquivo evolution-backup.tar.gz é o backup que você tanto queria. Você pode movê-lo para um outro computador com Ubuntu, e simplesmente descompactar o arquivo dentro do diretório /home/nomedousuario para restaurar o backup.

Para fazer isto:

gconftool-2 --shutdown
evolution --force-shutdown
cd
tar xzf evolution-backup.tar.gz
gconftool-2 --unload evolution_setting.xml
gconftool-2 --load evolution_setting.xml


Não deixe de conferir nosso novo blog sobre Linux em : Ubuntu "4us"
 
 
Navegando pela Net - All Rights Reserved
Proudly powered by Blogger